
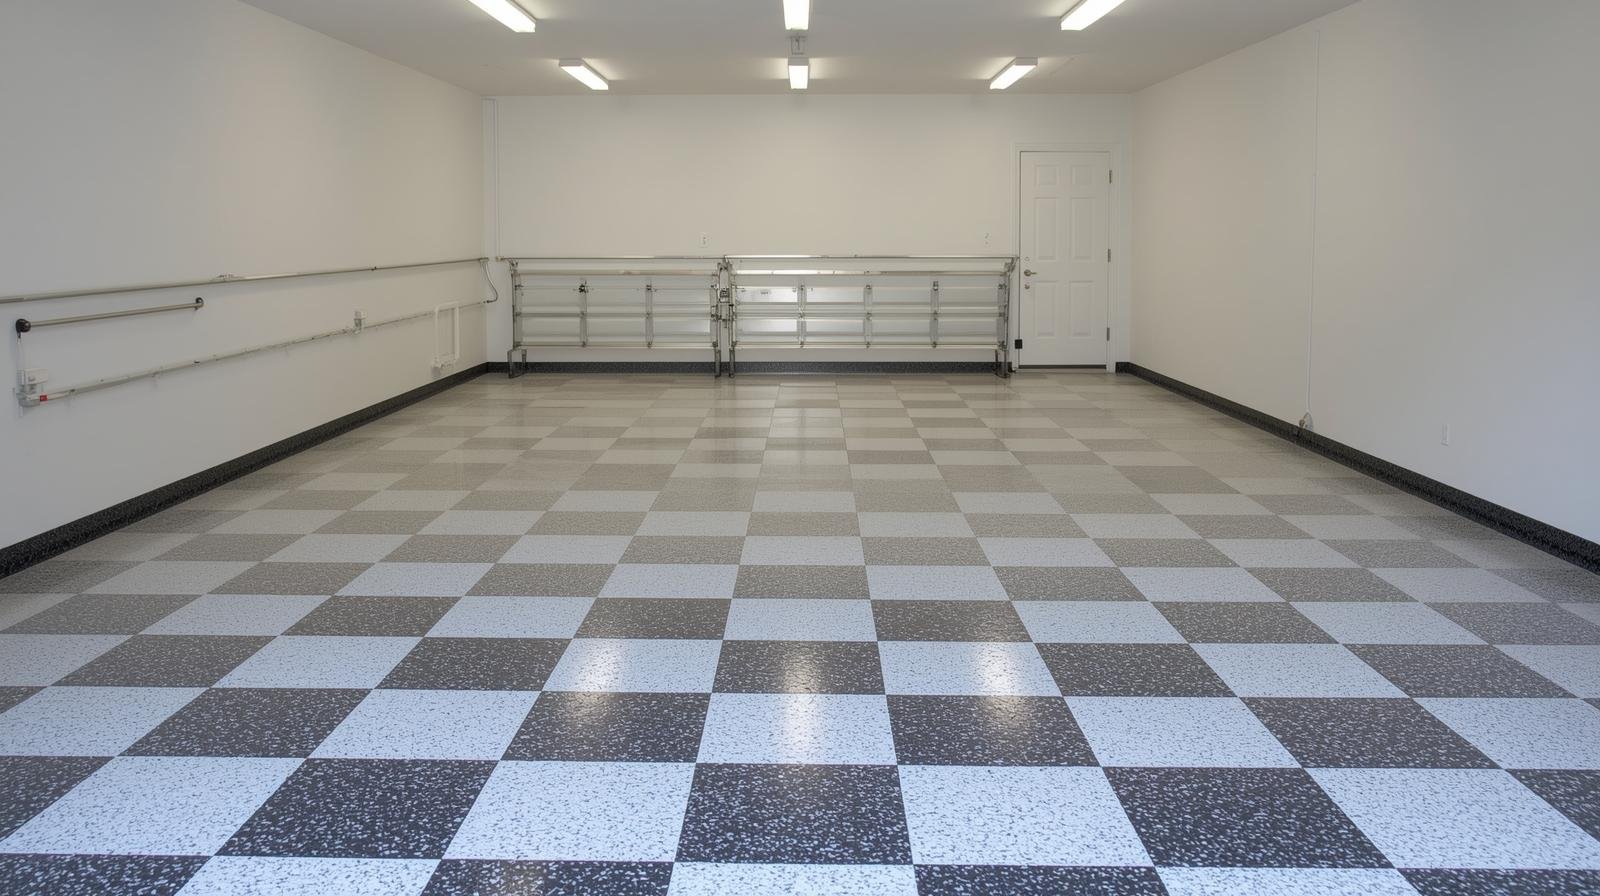
A harsh, durable garage floor can make or break the look and feel of your space. At Majestic Coatings Florida, one of the most frequently asked questions we get from homeowners is how to properly epoxy a garage floor and whether an epoxy garage floor coating is worth it. The truth depends on your preparation, materials & installation.
Epoxy flooring is a great choice for creating a long-lasting and professional-looking surface, but while that shine might be accomplished with the right coating, the real success of your project depends on how well you prepare the floor before applying your epoxy.
But regardless if you plan to do it yourself and get a crew, knowing how they work can lead to effects that last long.
Why Garage Ground Floor Covers Are So Well-known?
Garage floors get abused on a daily basis. Unprotected concrete is susceptible to vehicle traffic, oil spills, moisture and dirt, and the wear & tear of heavy equipment.
An epoxy coating forms a tough layer that assists:
Resists stains and chemical spills
- Improve durability
- Reduce concrete dust
- Enhance appearance
- Make cleaning easier
- Increase property value
It provides added protection against humidity and moisture, which untreated concrete surfaces in Florida can be subjected to over time.
How to Epoxy a Garage Floor?
Surface preparation, quality materials, and proper application yield the best results. Skipping any of these steps can cause peeling, bubbling, or just an overall failure of the coating prematurely.
Step 1: Assess the Situation of the Concrete
Examine the floor carefully before getting started and look for:
- Cracks
- Surface damage
- Oil stains
- Moisture issues
- Previous coatings
Epoxy has a much better adhesive bond to clean concrete that is in good structural condition. Any damage that already exists should be fixed before the project moves to its next phase.
Step 2: Proper Cleaning
In fact, improper prep is the number one reason for DIY epoxy failures. Concrete has a natural tendency to soak up contaminations such as:
- Motor oil
- Grease
- Dirt
- Tire residue
These materials interfere with the epoxy and concrete surface bonding process.
Although you could do the cleaning process yourself, professional installers utilize different approaches and large instruments to maximize bonding.
Step 3: Prepare The Concrete Surface
Perhaps the most critical stage of applying epoxy flooring is surface preparation. Concrete must be ground or prepared using a method that provides the appropriate profile for adhesion of the coating.
Proper preparation helps:
- Improve adhesion
- Increase coating lifespan
- Reduce peeling risks
- Create a smoother finish
Unfortunately, this step gets overlooked in many of the online DIYs for garage floor epoxy, but it is a huge factor when talking about long-term wearability.
Step 4: Fix Cracks and Flaws
Before any coating is applied, any cracks, pits, or other surface defects should be repaired.
By filling in the damaged spots, you will also end up with a smoother surface for your final coat to go on, thus creating a much better aesthetic for your floor.
These problems can cause heating cracks to bleed through the surface coating and may weaken it.
Step 5: Using the Epoxy System
Following preparation, the epoxy covering can be used. Most professional systems include:
- Primer coat
- Base coat
- Decorative flakes (optional)
- Protective topcoat
Every layer has its purpose and will help create the finishes in strength, looks, etc.
DIY vs Professional Epoxy Installation
Noticing how many homeowners are already Googling DIY garage floor epoxy steps indicates that many people think they can simply save money by doing it themselves. Although there are many DIY kits out there, these rarely lead to professional-level system results.
DIY Advantages
- Lower initial cost
- Suitable for small projects
- Available at home improvement stores
DIY Challenges
- Limited surface preparation equipment
- Lower-quality materials
- Greater risk of coating failure
- Shorter lifespan
Front-end professional installation usually leads to better durability, stronger adhesion, and a nicer finish.
Frequently Asked Questions
What does Florida humidity do to epoxy garage floors?
If not properly installed, curing can be affected by Florida’s humidity. Professional moisture testing is done before using the right products and then monitored for long-lasting adhesion and performance.
Are hot tires bad for an epoxy garage floor?
An industrial coating system, when correctly put in place, can withstand warm tire pickup. This type of problem usually occurs more often with low-quality DIY products.
How long should I wait to park my car on a newly coated garage floor?
Most epoxy systems must cure for a few days before traffic can be allowed on the vehicle. Specific cure times will depend on environmental conditions and product specifications.
Is epoxy flooring a perfect fit for garages near the shore of Florida?
Yes. Residential concrete epoxy coatings protect from moisture, salt, and wear, which makes them ideal to coat coastal properties all over the state of Florida.
Are you able to lessen concrete dust in my storage facility with epoxy coatings?
Absolutely. Epoxy flooring offers the most significant advantage of sealing the surface of concrete, so dust is greatly reduced, and cleaning becomes much easier.